Moving from a desktop to a laptop forced me to rebuild my dev environment. Claude Code speeds up coding, but it also makes customizing your setup easier — I can describe what I want and get a working solution without digging through docs and forums.
This is what I’d tell a colleague on day one. Essentials first, then quality-of-life improvements.
The Essentials
Terminal: iTerm2 (after a Ghostty detour)
Claude Code runs in the terminal, so picking one you can tweak is worth the time. I started with iTerm2 — the Snazzy color scheme, Oh-My-Zsh, and Pure prompt. iTerm2 was great early on because its notifications worked well when Claude needed input. Oh-My-Zsh added startup lag and I never used most of its features, so I removed it.
After reformatting my machine I wanted something lighter and tried Ghostty for a few weeks. Single config file, fast startup, stays out of the way. A scrolling bug in Claude Code (anthropics/claude-code#36582) gave me the nudge to switch. iTerm2 had let me tint individual tab backgrounds per project (wrote about that here); Ghostty tints the whole window via OSC 11, which is easier to spot when scanning across windows.
Two pieces of daily friction sent me back to iTerm2:
New tab vs new window. I want a new tab to inherit the current directory and a new window to start in $HOME. iTerm2 splits these out of the box. Ghostty treats them the same and I couldn’t find a clean way to separate them.
Cmd+click on file paths. When Claude prints a path at the end of a sentence, Ghostty grabs the trailing period as part of the path, so the click misses or opens nothing.

iTerm2 strips the period and opens the file in one click. Small thing, but it happens many times a day.
The per-project tinting script below uses OSC 11, which both terminals support — moving back to iTerm2 didn’t break it.
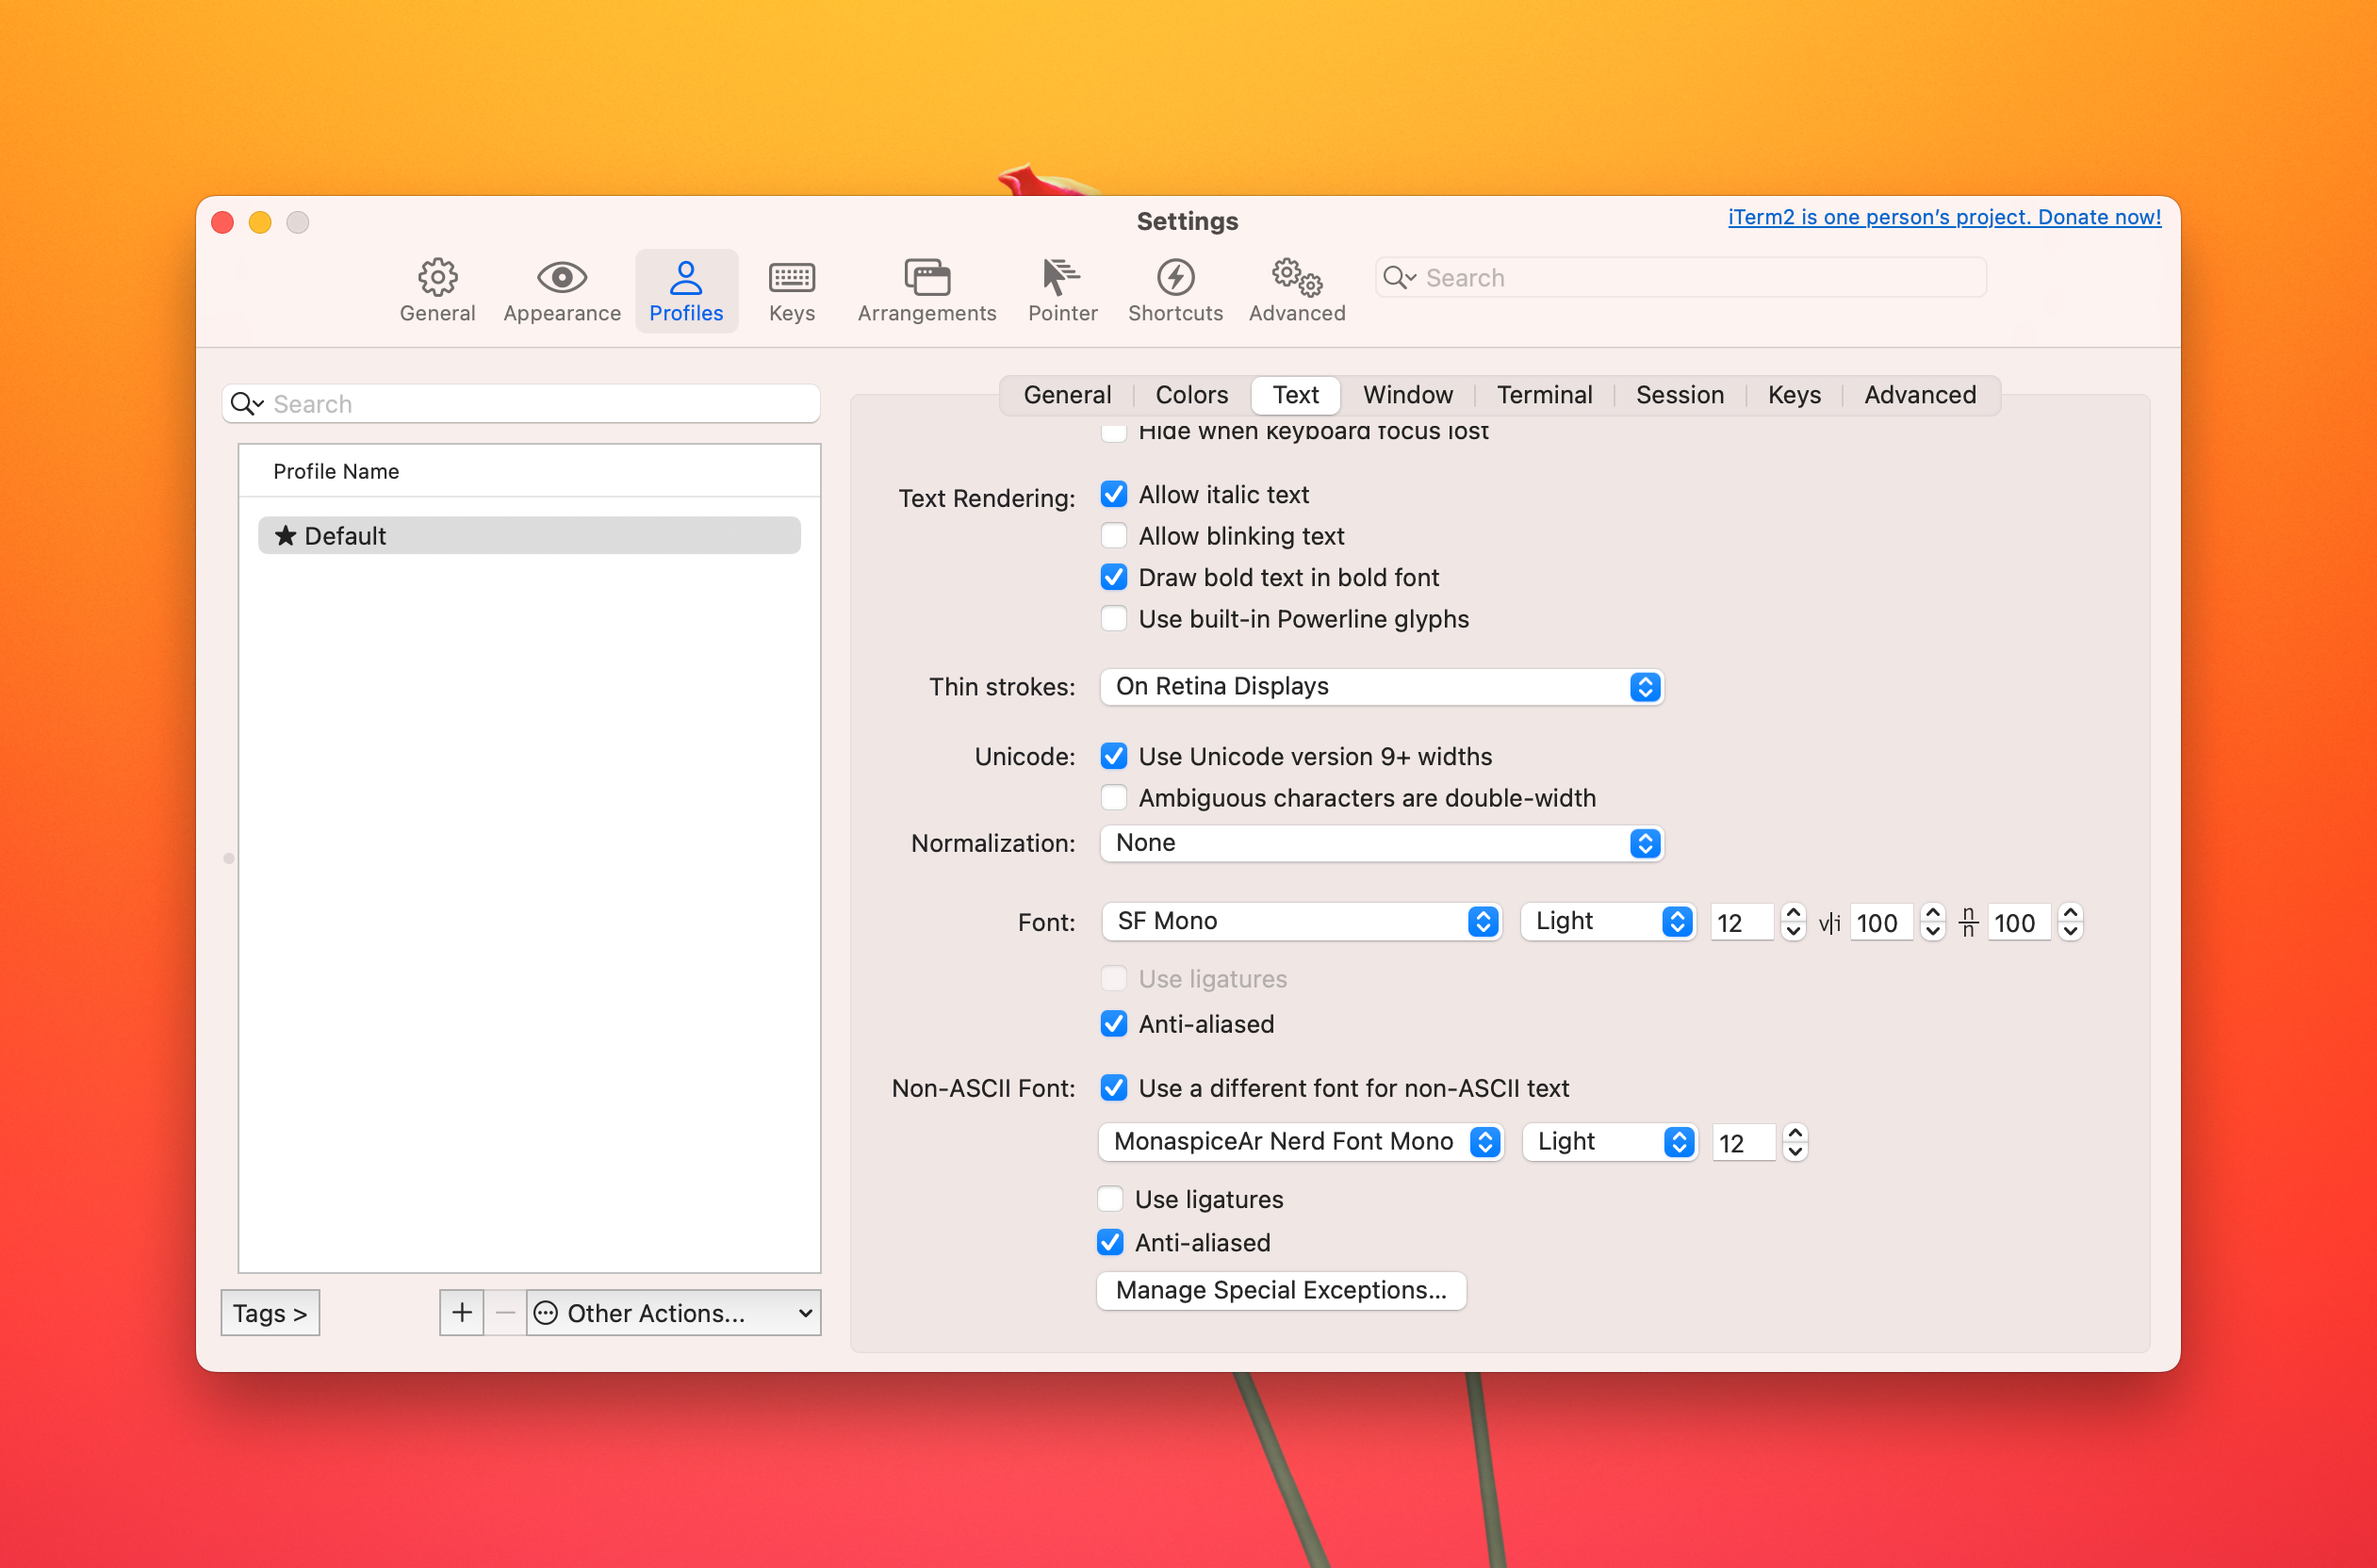
Most of my setup isn’t iTerm-specific — the OSC 11 tinting, the claude() wrapper, and the prompt all work in macOS Terminal. The one feature I rely on is iTerm2’s separate font for non-ASCII text. I keep SF Mono for code and a Nerd Font (MonaspiceAr) for the icon glyphs eza prints, which keeps the eza output crisp without forcing a Nerd Font on everything else. macOS Terminal has no equivalent setting, so eza icons render less reliably there.
Claude Code Plugins
Every project gets three plugins:
Playwright MCP — gives Claude Code a real browser. It navigates pages, clicks elements, fills forms, and takes screenshots. Useful for testing and for letting Claude see what you see when debugging UI issues.
Superpowers — structured workflows for brainstorming, test-driven development, debugging, and implementation plans. Adds process discipline to what would otherwise be freeform prompting.
Episodic Memory — memory across sessions. Without it, every conversation starts from zero. With it, Claude remembers past decisions and what worked. Useful for projects that span multiple days.
Quality of Life
CleanShot X for Screenshots
CleanShot X copies screenshots to the clipboard, but the feature I use most is floating screenshots. I take several shots as I move through an app, and they stay on screen in a browsable menu. I drag the relevant ones into Claude Code when I’m ready to get feedback.
Claude Code reads images, including annotations like arrows and circles. I rarely annotate — a raw screenshot gives Claude enough context. Annotations help when you need to point at something specific, but that’s uncommon.
Shell: zsh + Pure Prompt
Instead of Oh-My-Zsh, I use focused tools that each do one thing. Here’s the relevant part of my .zshrc:
Node version management
export NVM_DIR="$HOME/.nvm"
[ -s "/opt/homebrew/opt/nvm/nvm.sh" ] && \. "/opt/homebrew/opt/nvm/nvm.sh"
[ -s "/opt/homebrew/opt/nvm/etc/bash_completion.d/nvm" ] && \. "/opt/homebrew/opt/nvm/etc/bash_completion.d/nvm"
Loads nvm for Node.js version management. The conditional checks prevent errors if nvm isn’t installed.
Smart tab completion
fpath+=("$(brew --prefix)/share/zsh/site-functions")
autoload -Uz compinit && compinit
zstyle ':completion:*' matcher-list 'm:{[:lower:][:upper:]}={[:upper:][:lower:]}' 'r:|=* l:|=*' 'l:|=* r:|=*'
Case-insensitive tab completion that matches partial strings. Type doc<tab> and it finds Documents. Three lines replace Oh-My-Zsh’s completion system.
Pure prompt
autoload -U promptinit; promptinit
prompt pure
Pure — a minimal, fast prompt that shows git branch and dirty state. No configuration needed.
Modern ls and shell enhancements
alias ls='eza --icons'

source /opt/homebrew/share/zsh-syntax-highlighting/zsh-syntax-highlighting.zsh
source /opt/homebrew/share/zsh-autosuggestions/zsh-autosuggestions.zsh
source <(fzf --zsh)
export FZF_COMPLETION_TRIGGER='**'- eza — a modern
lsreplacement with icons and color - zsh-syntax-highlighting — colors valid commands green, invalid ones red as you type
- zsh-autosuggestions — ghost text suggestions from your command history, accept with right arrow
- fzf — fuzzy finder for files and history. Type
**then tab to trigger fuzzy search on any command
The icons make scanning a directory faster — file types are recognizable at a glance:
Timestamp and Claude Code integration
RPROMPT='%F{green}[%D{%d %b %Y | %H:%M:%S}]%f'

claude() {
    printf '\033]0;Claude: %s\007' "${PWD##*/}"
    CLAUDE_CODE_DISABLE_TERMINAL_TITLE=1 command claude "$@"
    printf '\033]0;%s\007' "${PWD##*/}"
}
The right-side prompt shows a timestamp — helpful when scrolling back through a long session to find when something happened.
The claude() wrapper sets the tab title to “Claude: project-name” on launch, then restores it on exit. With multiple sessions open, the tab titles tell you which project each belongs to.
Per-project window tinting
_set_tab_color() {
  if [[ -f .iterm-color ]]; then
    local hex=$(<.iterm-color)
    hex="${hex#\#}"
    local r=$((16#${hex:0:2}))
    local g=$((16#${hex:2:2}))
    local b=$((16#${hex:4:2}))
    r=$((r * 25 / 100))
    g=$((g * 25 / 100))
    b=$((b * 25 / 100))
    printf '\e]11;rgb:%02x/%02x/%02x\e\\' "$r" "$g" "$b"
  else
    printf '\e]111\e\\'
  fi
}
chpwd_functions+=(_set_tab_color)
_set_tab_color
Drop a .iterm-color file with a hex value (like #22c55e) in any project root. When you cd into that directory, the terminal window tints to that color at 25% intensity — visible but readable. Leave the project and it resets. The script writes an OSC 11 escape sequence, which iTerm2, Ghostty, and most modern terminals all honor.
Dotfile Syncing
Claude Code made the initial customization easy enough that I have a setup worth preserving. I keep it in a ~/dotfiles git repo on GitHub and symlink the files into $HOME. Setting it up the first time:
git init ~/dotfiles
mv ~/.zshrc ~/dotfiles/.zshrc
ln -s ~/dotfiles/.zshrc ~/.zshrc

cd ~/dotfiles
git add .zshrc && git commit -m "initial dotfiles"
gh repo create dotfiles --private --source=. --push
.zshrc now lives in version control. Edits via either path update both. On a new machine, clone the repo and recreate the symlinks:
gh repo clone yourname/dotfiles ~/dotfiles
ln -s ~/dotfiles/.zshrc ~/.zshrc
Add files to the repo as you accumulate them — .gitconfig, .tmux.conf, anything under ~/.claude/ you want on the next machine.
The new-project Script
Claude Code handles the coding fast enough that the bottleneck shifted to infrastructure — buying a domain, configuring DNS, setting up email, creating a repo, deploying. So I automated that too.
One command:
new-project.sh example.com helloThat line:
- Scaffolds a SvelteKit project with TypeScript, Prettier, ESLint, and Playwright
- Registers the domain’s DNS records in Cloudflare
- Creates a Migadu email mailbox with full DNS (MX, SPF, DMARC, DKIM) and adds the credentials to macOS Keychain
- Creates a private GitHub repo and pushes the initial commit
- Deploys to Cloudflare Pages with auto-deployment from the repo
- Optionally sets up a Supabase database
To tear it all down: new-project.sh --cleanup example.com reverses everything.
The script reads API tokens (GitHub, Cloudflare, Migadu) from a ~/.scaffoldrc file. Set it up once and forget it.
What’s Next
This setup gets me from idea to deployed project with a custom domain and email in minutes. If you’re looking to try AI-assisted coding, start with the essentials — a terminal you like and the three Claude Code plugins. Build something small and see how it feels.
I’ll add screenshots to this post over time. If you’ve found tools that work well with Claude Code, I’d like to hear about them.